Understanding the Design Process
Never worked with a designer before? Don’t worry, we’re here to help you through the process. From your initial questions on how the process works to helping you define every last detail of the design of your new space, we’re your team of experts. Every project is unique, but it follows a fairly standard process. Here’s the step-by-step of what happens in the design process.
Step 1:
The Initial Consultation: A “Get To Know You” Chat (1 hour)
This might sound intimidating, but it’s not! This should feel more like sitting down with a friend and answering a bunch of questions. We’ll talk about how you use your space, what your goals are, what your preferred timeline is for the project, how much or how little you’re looking to change … and of course, what your budget looks like. There will always be choices to be made to balance the scope of your dreams with the realities of your wallet, so knowing up front what you can spend will help us to define the project scope.
If you have pictures of rooms that you are inspired by, or your favorite colors that you want us to work with, bring them to this initial meeting to share your personal style with us – the more we know about you, the faster we can help you achieve the space you’ve been dreaming about. But don’t worry if you don’t have ANY ideas, that’s okay too – that’s what we specialize in! Finally, we will take some measurements of your space to create current plans to work from. You can expect this meeting to last an hour.
Step 2:
Getting Started!
You’ll get a proposal from us outlining everything we talked about in the Consultation meeting, and we’ll request a retainer to begin the project. A retainer* is typically 50% of the estimated total design hours of the full project. And then, we get to work – you won’t hear from us for a while while we are working behind the scenes: doing your space planning, working on design concept, selecting materials, and getting samples to create your personal design concept. We will schedule a second in person meeting, usually 2-3 weeks after the initial consultation, to present the design plans to you.
Step 3:
Seeing the Vision
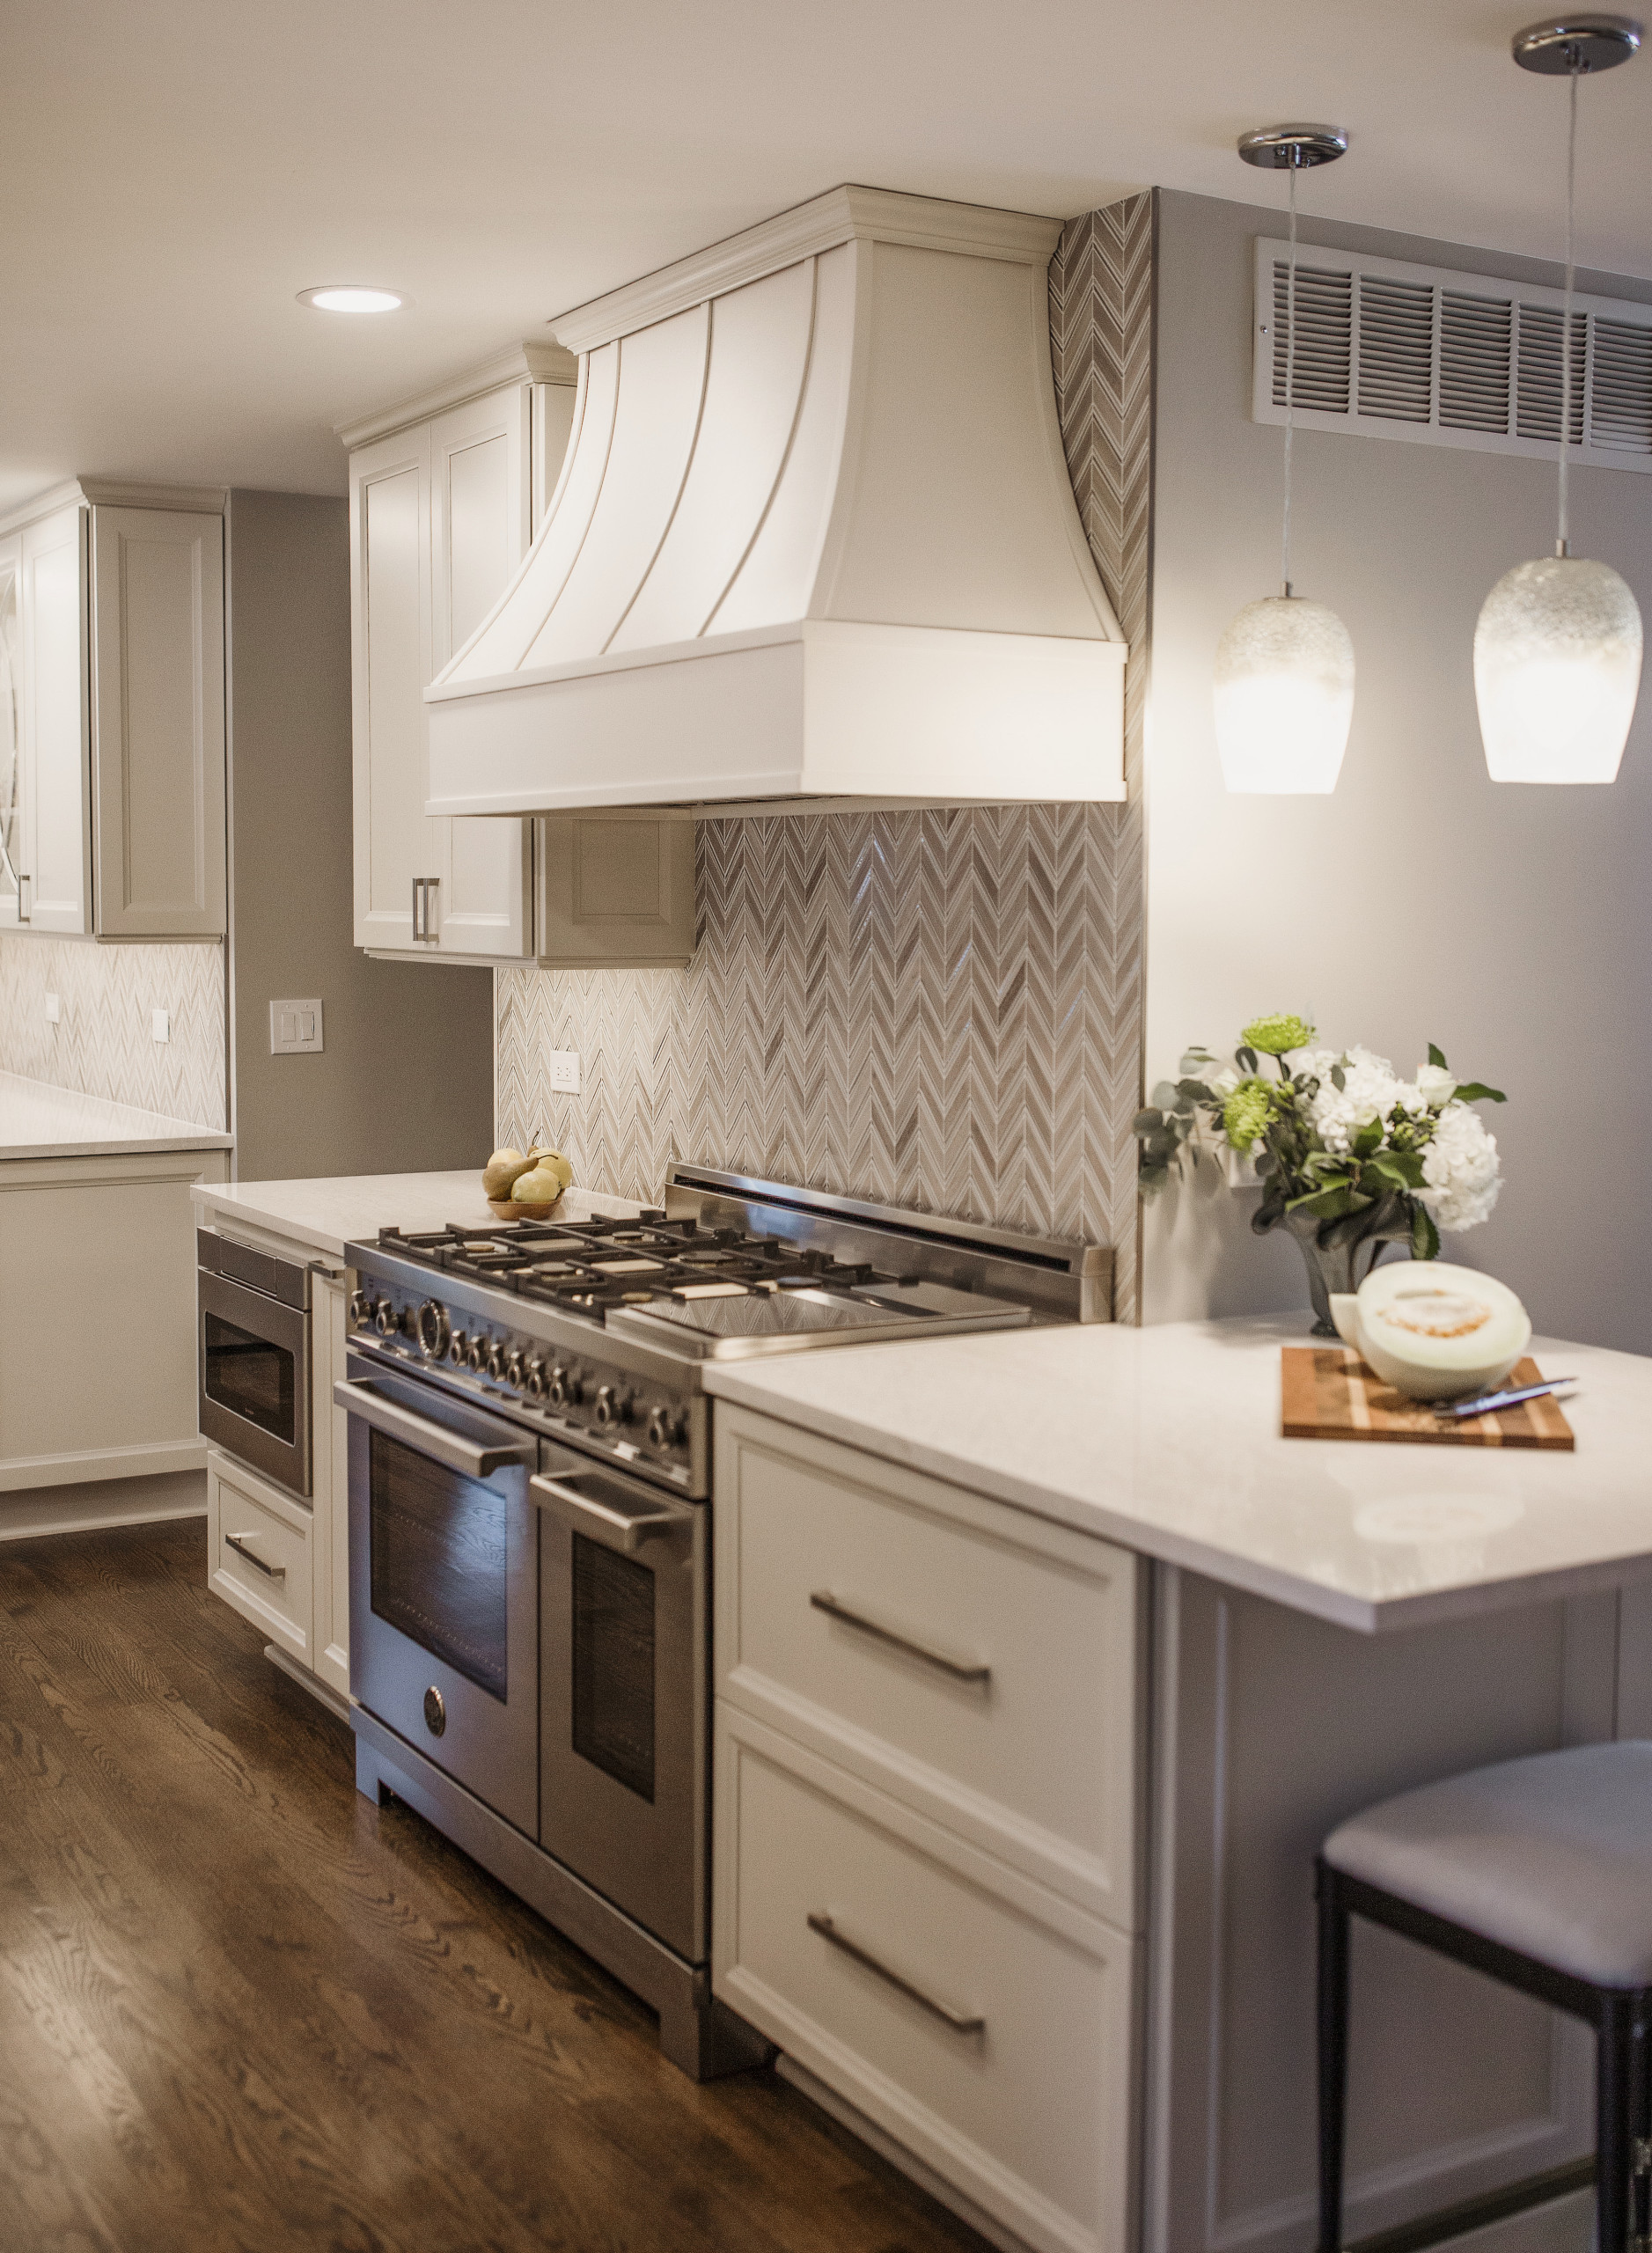
Here’s where we want you to say “WOW”! We’ll sit down together again and present our ideas to you, showing you fabric/tile/color samples and a visual design plan for the space. We’ll talk about what you love and what you’d like to see changed. Some clients are ready to go full steam ahead at this point, others need a few days to soak on it, talk with the rest of the family, etc. This phase of the design is often unpredictable in length, depending on how many changes you’d like to see to the initial design. We want you to love your project!
*Another note about retainers: of course, your “dream space” is our goal … but if your circumstances have changed, any unused design hours are refundable if you decide not to move ahead with the project after this phase. The design is yours to keep for future use.
Step 4:
Choosing an Installation Partner
Design and construction are like the “oil and vinegar” of the trades industries … we have very different skills, but we work well together! Style 1519 is a design firm, so once we have a finished design we bring in someone else (the contractor, or multiple contractors depending on the project) to do the actual installation.
Once design has been approved, this is when a contractor will come out to bid, or the materials will be quoted. If you already have a contractor who you have a relationship with, we are happy to work with them … or Style 1519 has a series of trusted partners in the building trades industry that we can call on to present you with a bid.
Step 5:
Choices, Choices…
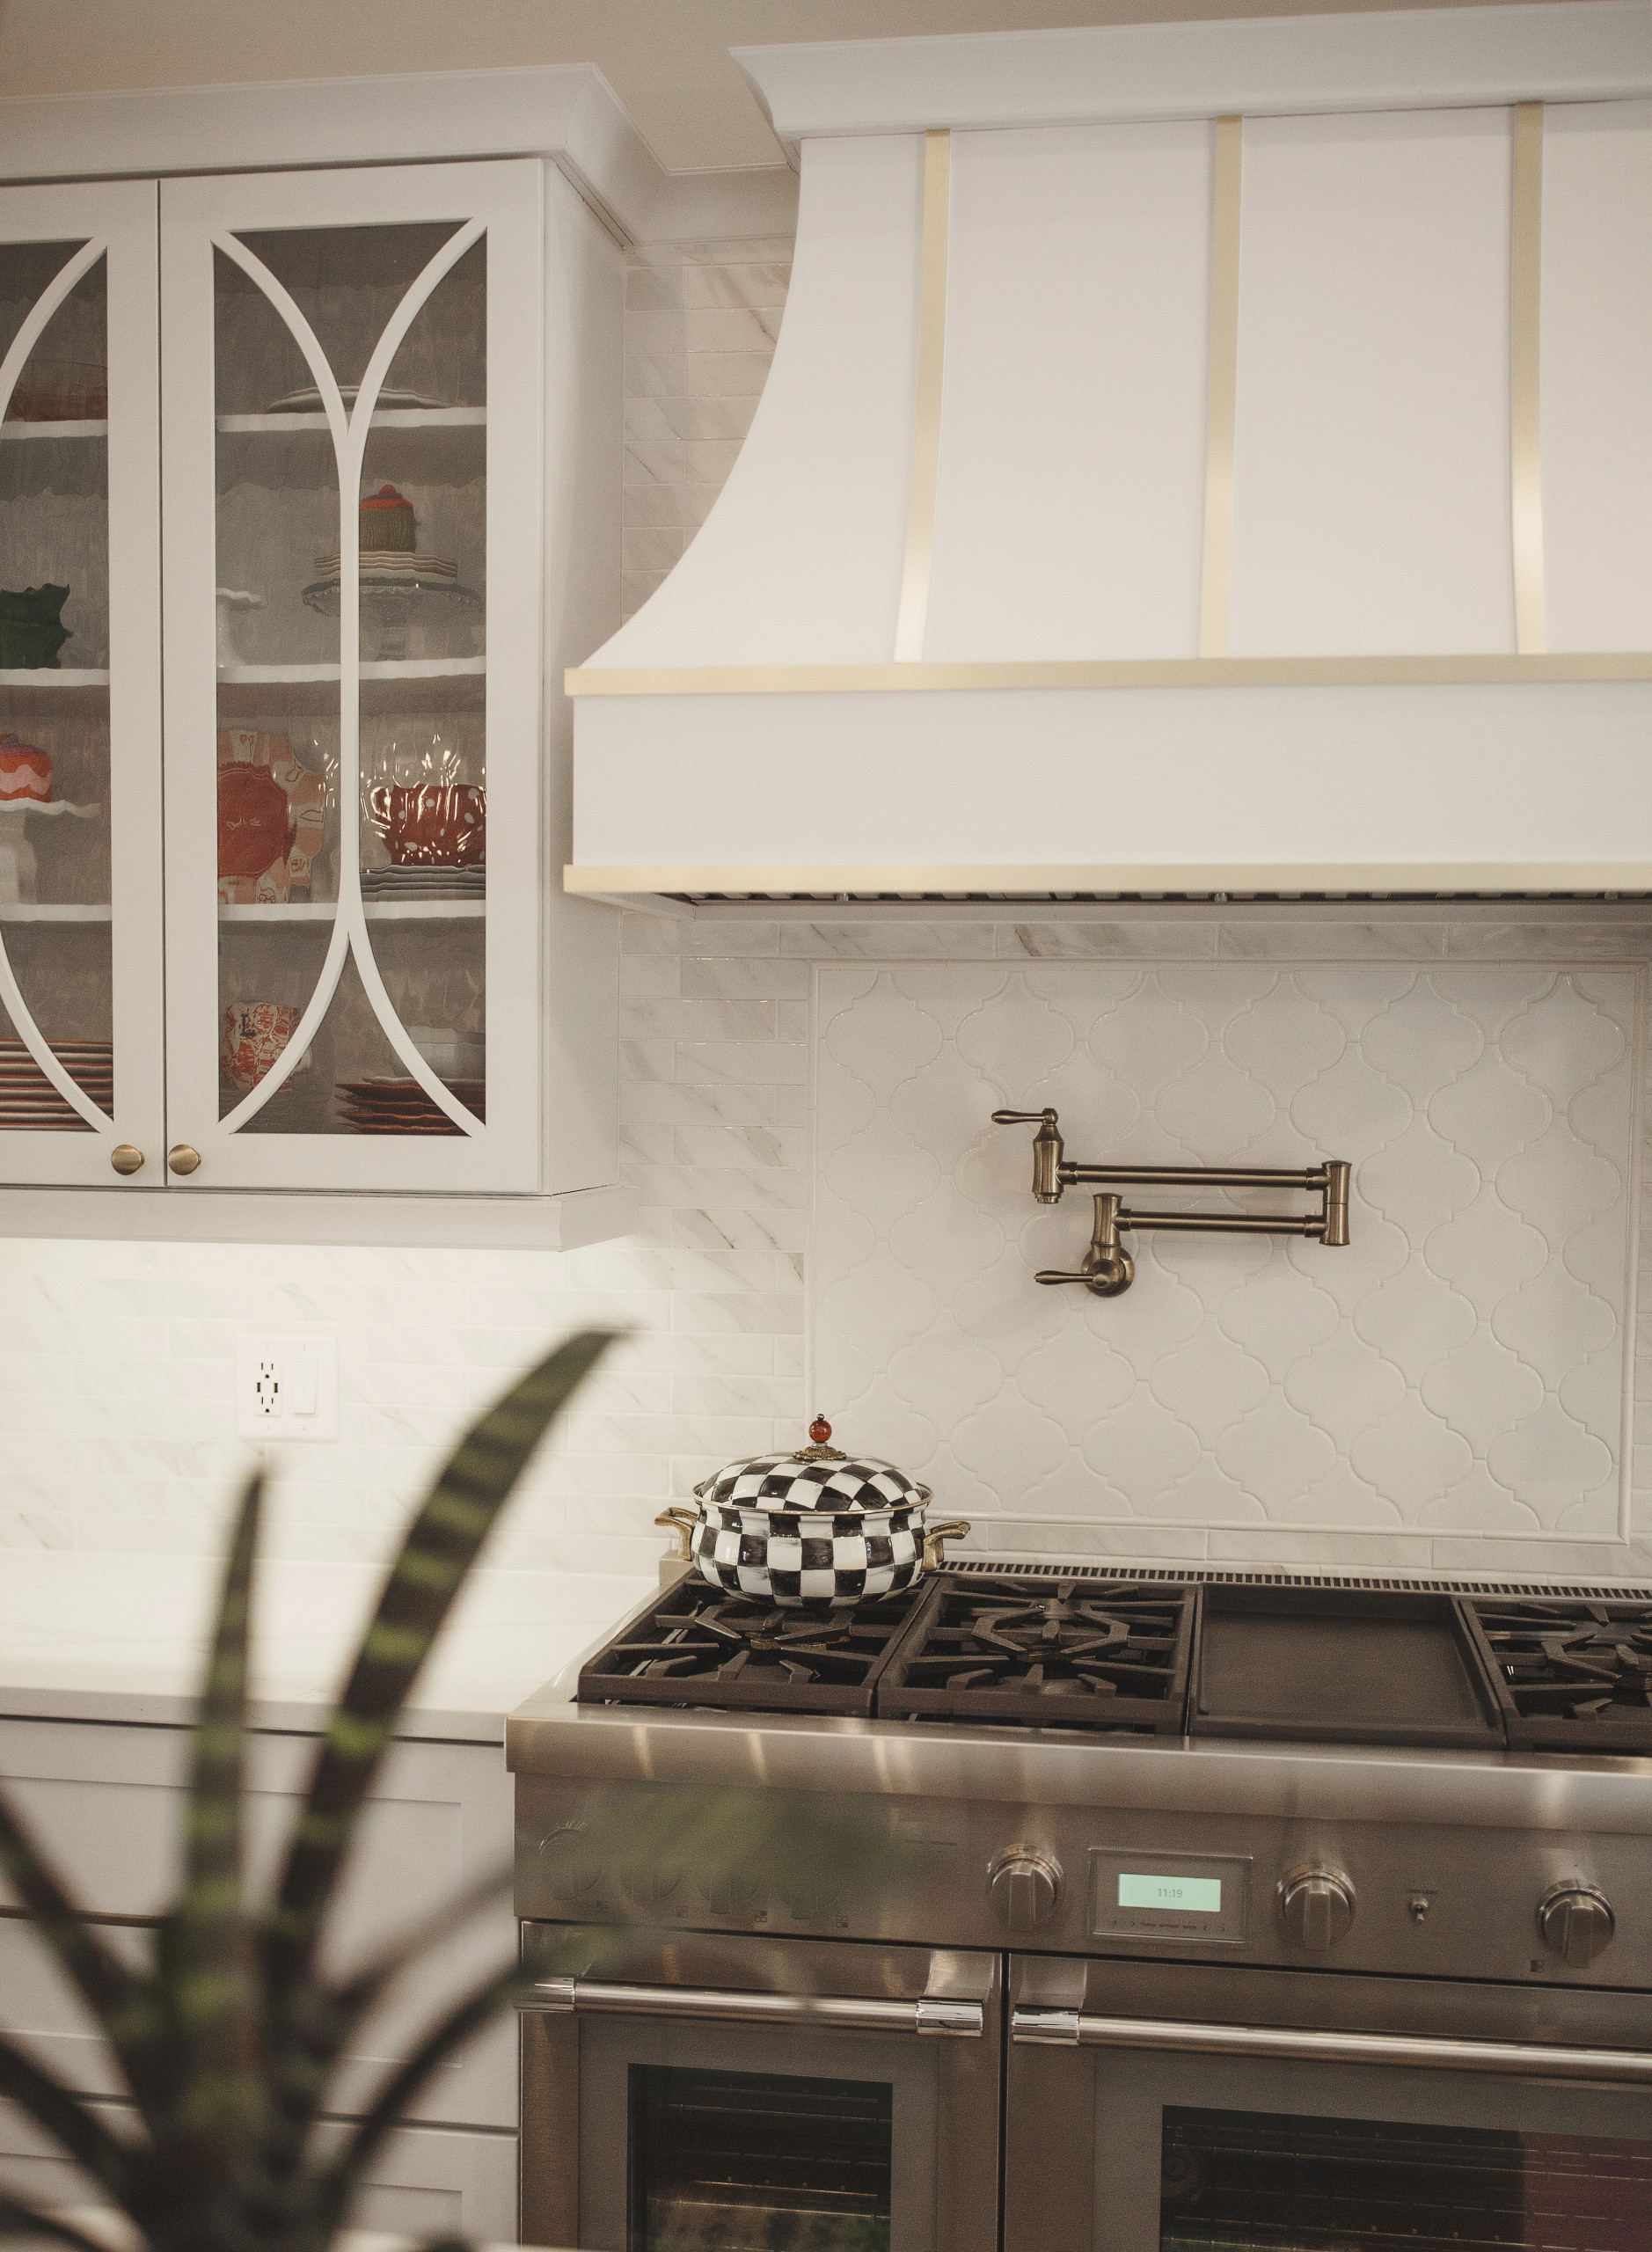
Once a contractor provides his bid and signs on (typically they have a separate agreement and retainer as well), we get to selecting final materials and making sure all decisions for the space are made. We will work collaboratively with you to choose the right specific elements: cabinets, tile and grout, faucets, lighting, cabinet hardware, tile layout, countertops, paint, fabric, furniture, etc. This may feel like a lot of “back and forth” of decision making, but we want to be sure we get it all just right!
We will provide you with final quotes for approval before any orders are placed.
*Another note about retainers: of course, your “dream space” is our goal … but if your circumstances have changed, any unused design hours are refundable if you decide not to move ahead with the project after this phase. The design is yours to keep for future use.
Step 6:
The waiting is the hardest part!
Once orders are placed… we wait. And wait. While we are waiting for materials, it may seem like nothing is happening. You’ve probably heard horror stories of construction projects that take forever … those are almost always due to a designer who didn’t accurately manage materials timelines, who let a contractor start demolition too early. Design is a process and we want to make sure everything is in place before the contractor begins. This is so you are inconvenienced for the least amount of time in your home during the installation!
Step 7:
Choices, Choices…
Like cooking Thanksgiving dinner so everything is ready (and warm!) at “just the right moment,” Style 1519 orders and keeps track of all materials and lead times, and once everything is on site, the contractor will begin your project. We serve as the “communicator” — working with the contractor to manage your project, answer their questions (and yours), make any final design adjustments when unexpected issues arise, and keep things on track. Depending on the scope of project, installation can be a day or multiple weeks, but we’ll get you a realistic estimate before installation begins, and our materials management system ensures you’ll be inconvenienced for as little time as possible!
*Another note about retainers: of course, your “dream space” is our goal … but if your circumstances have changed, any unused design hours are refundable if you decide not to move ahead with the project after this phase. The design is yours to keep for future use.
Step 8:
Accessorizing: The Final Polish!
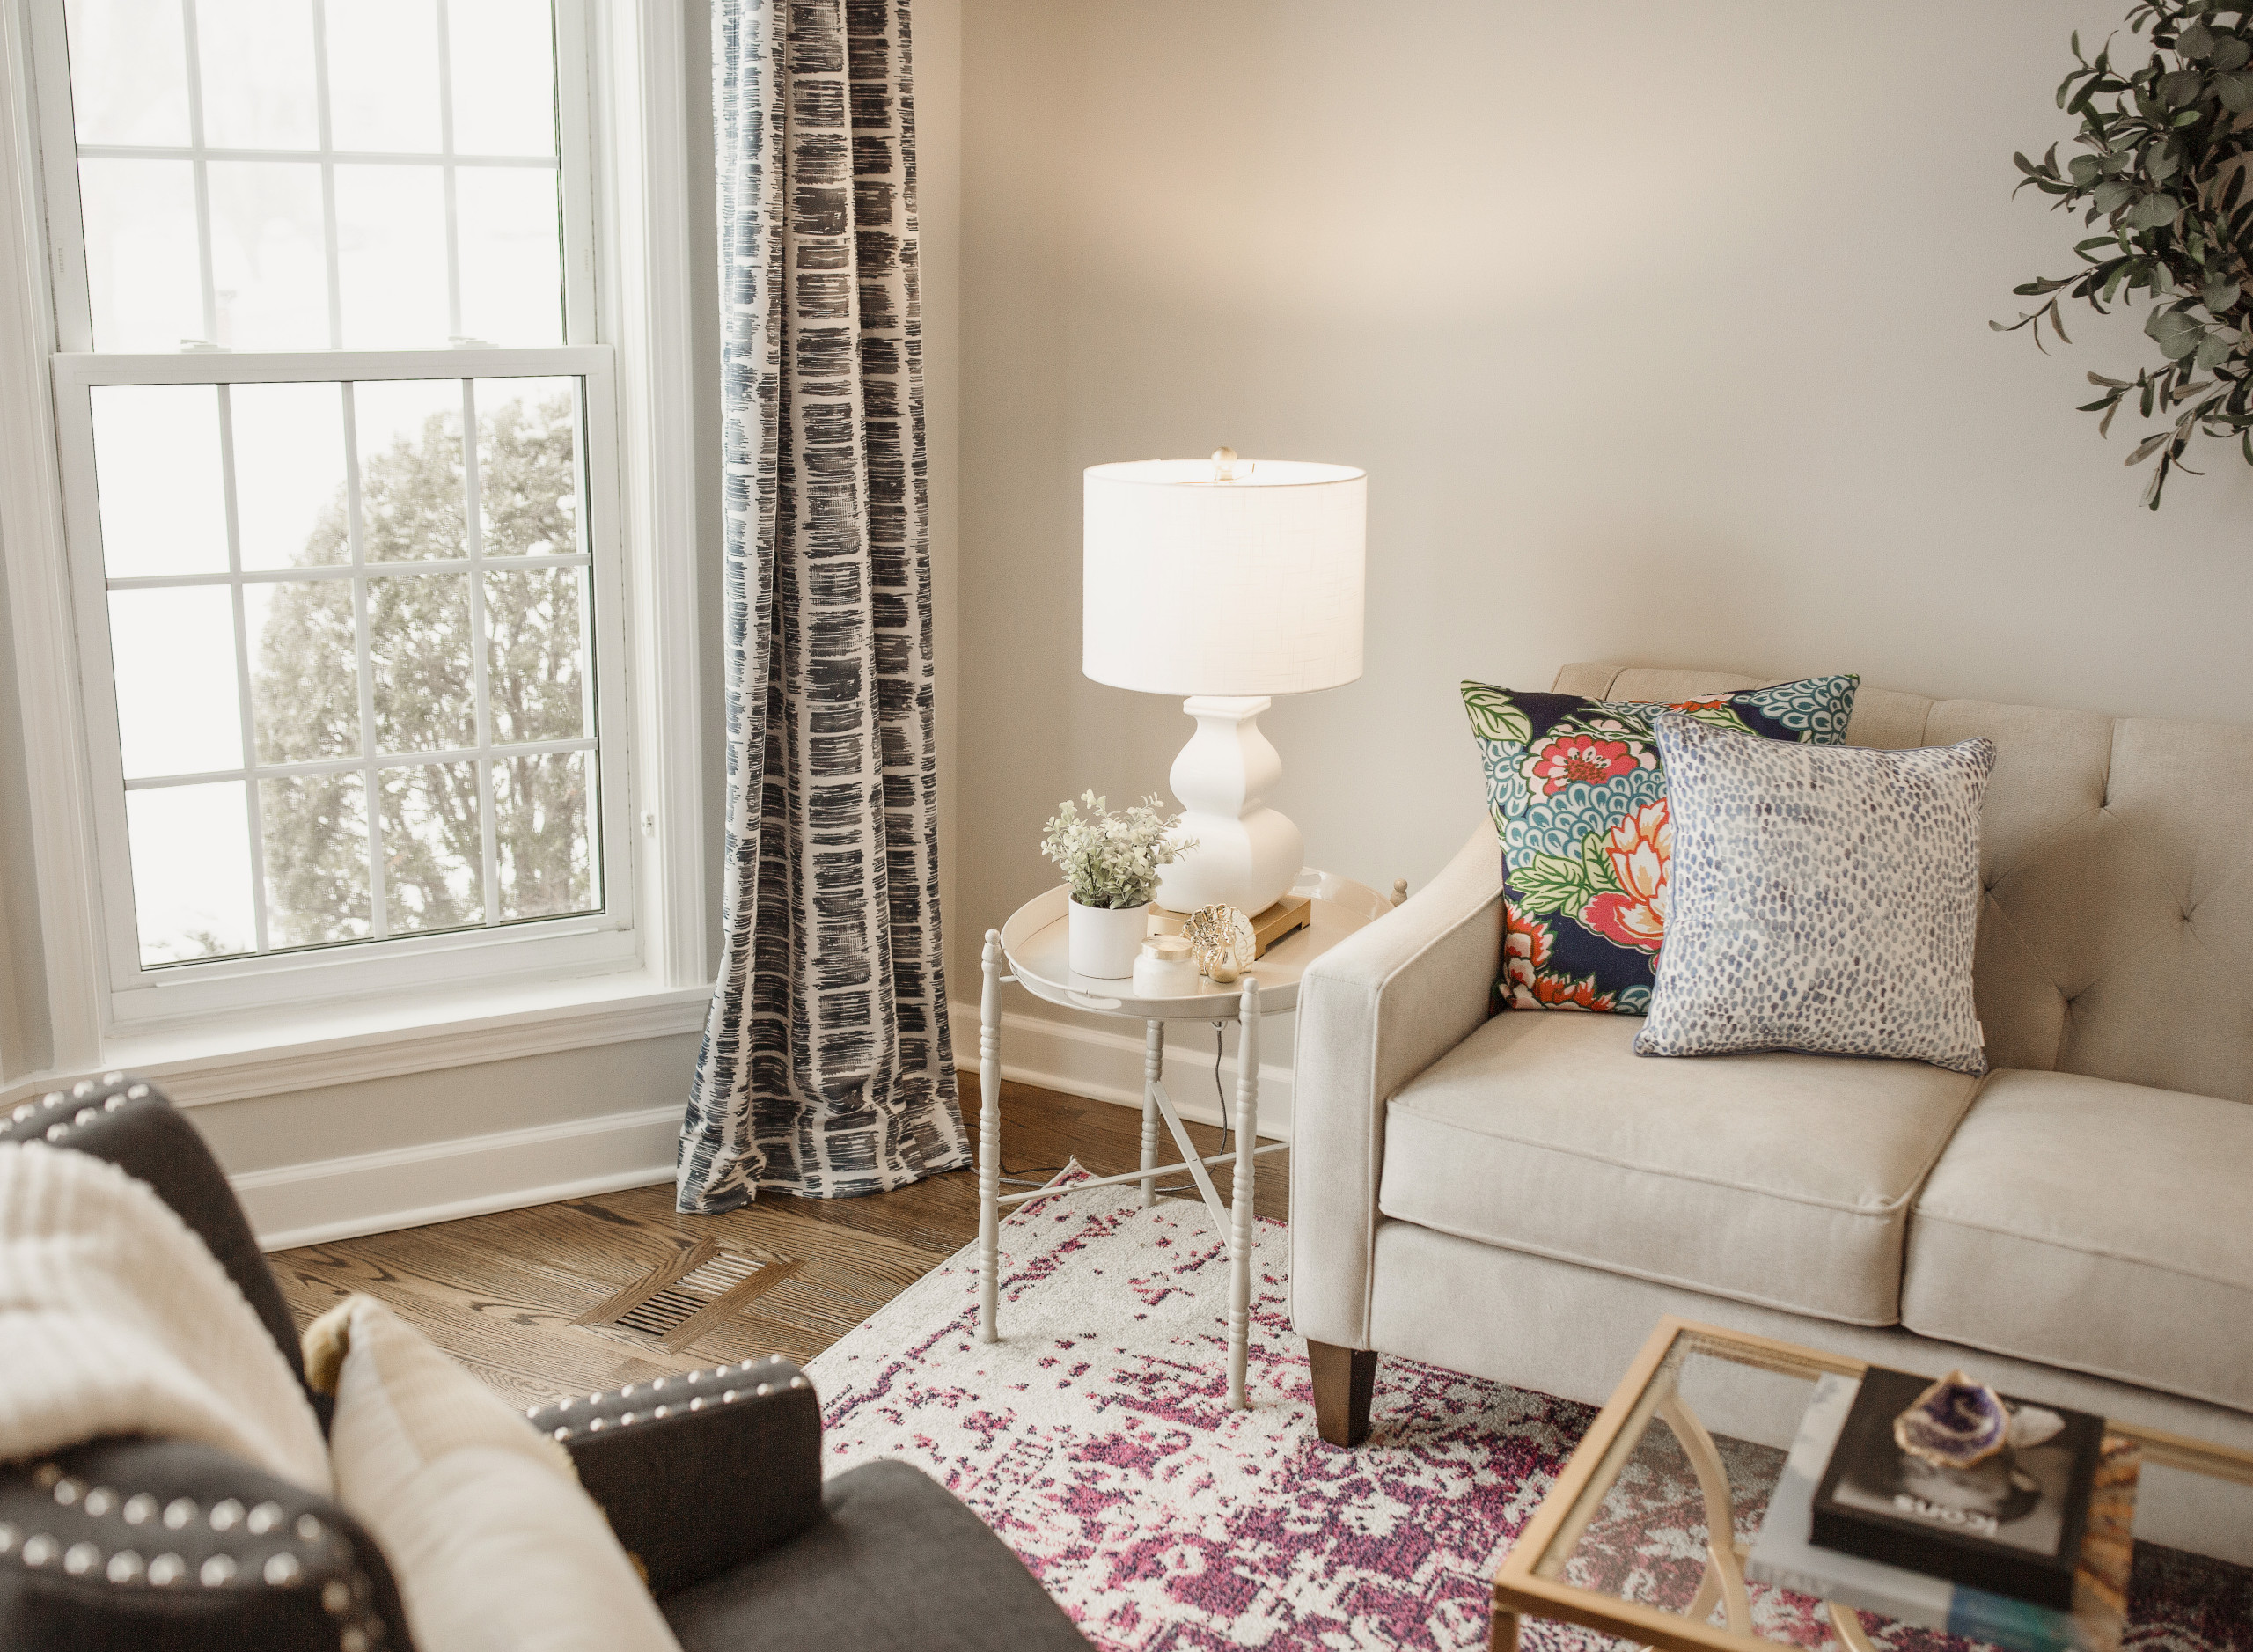
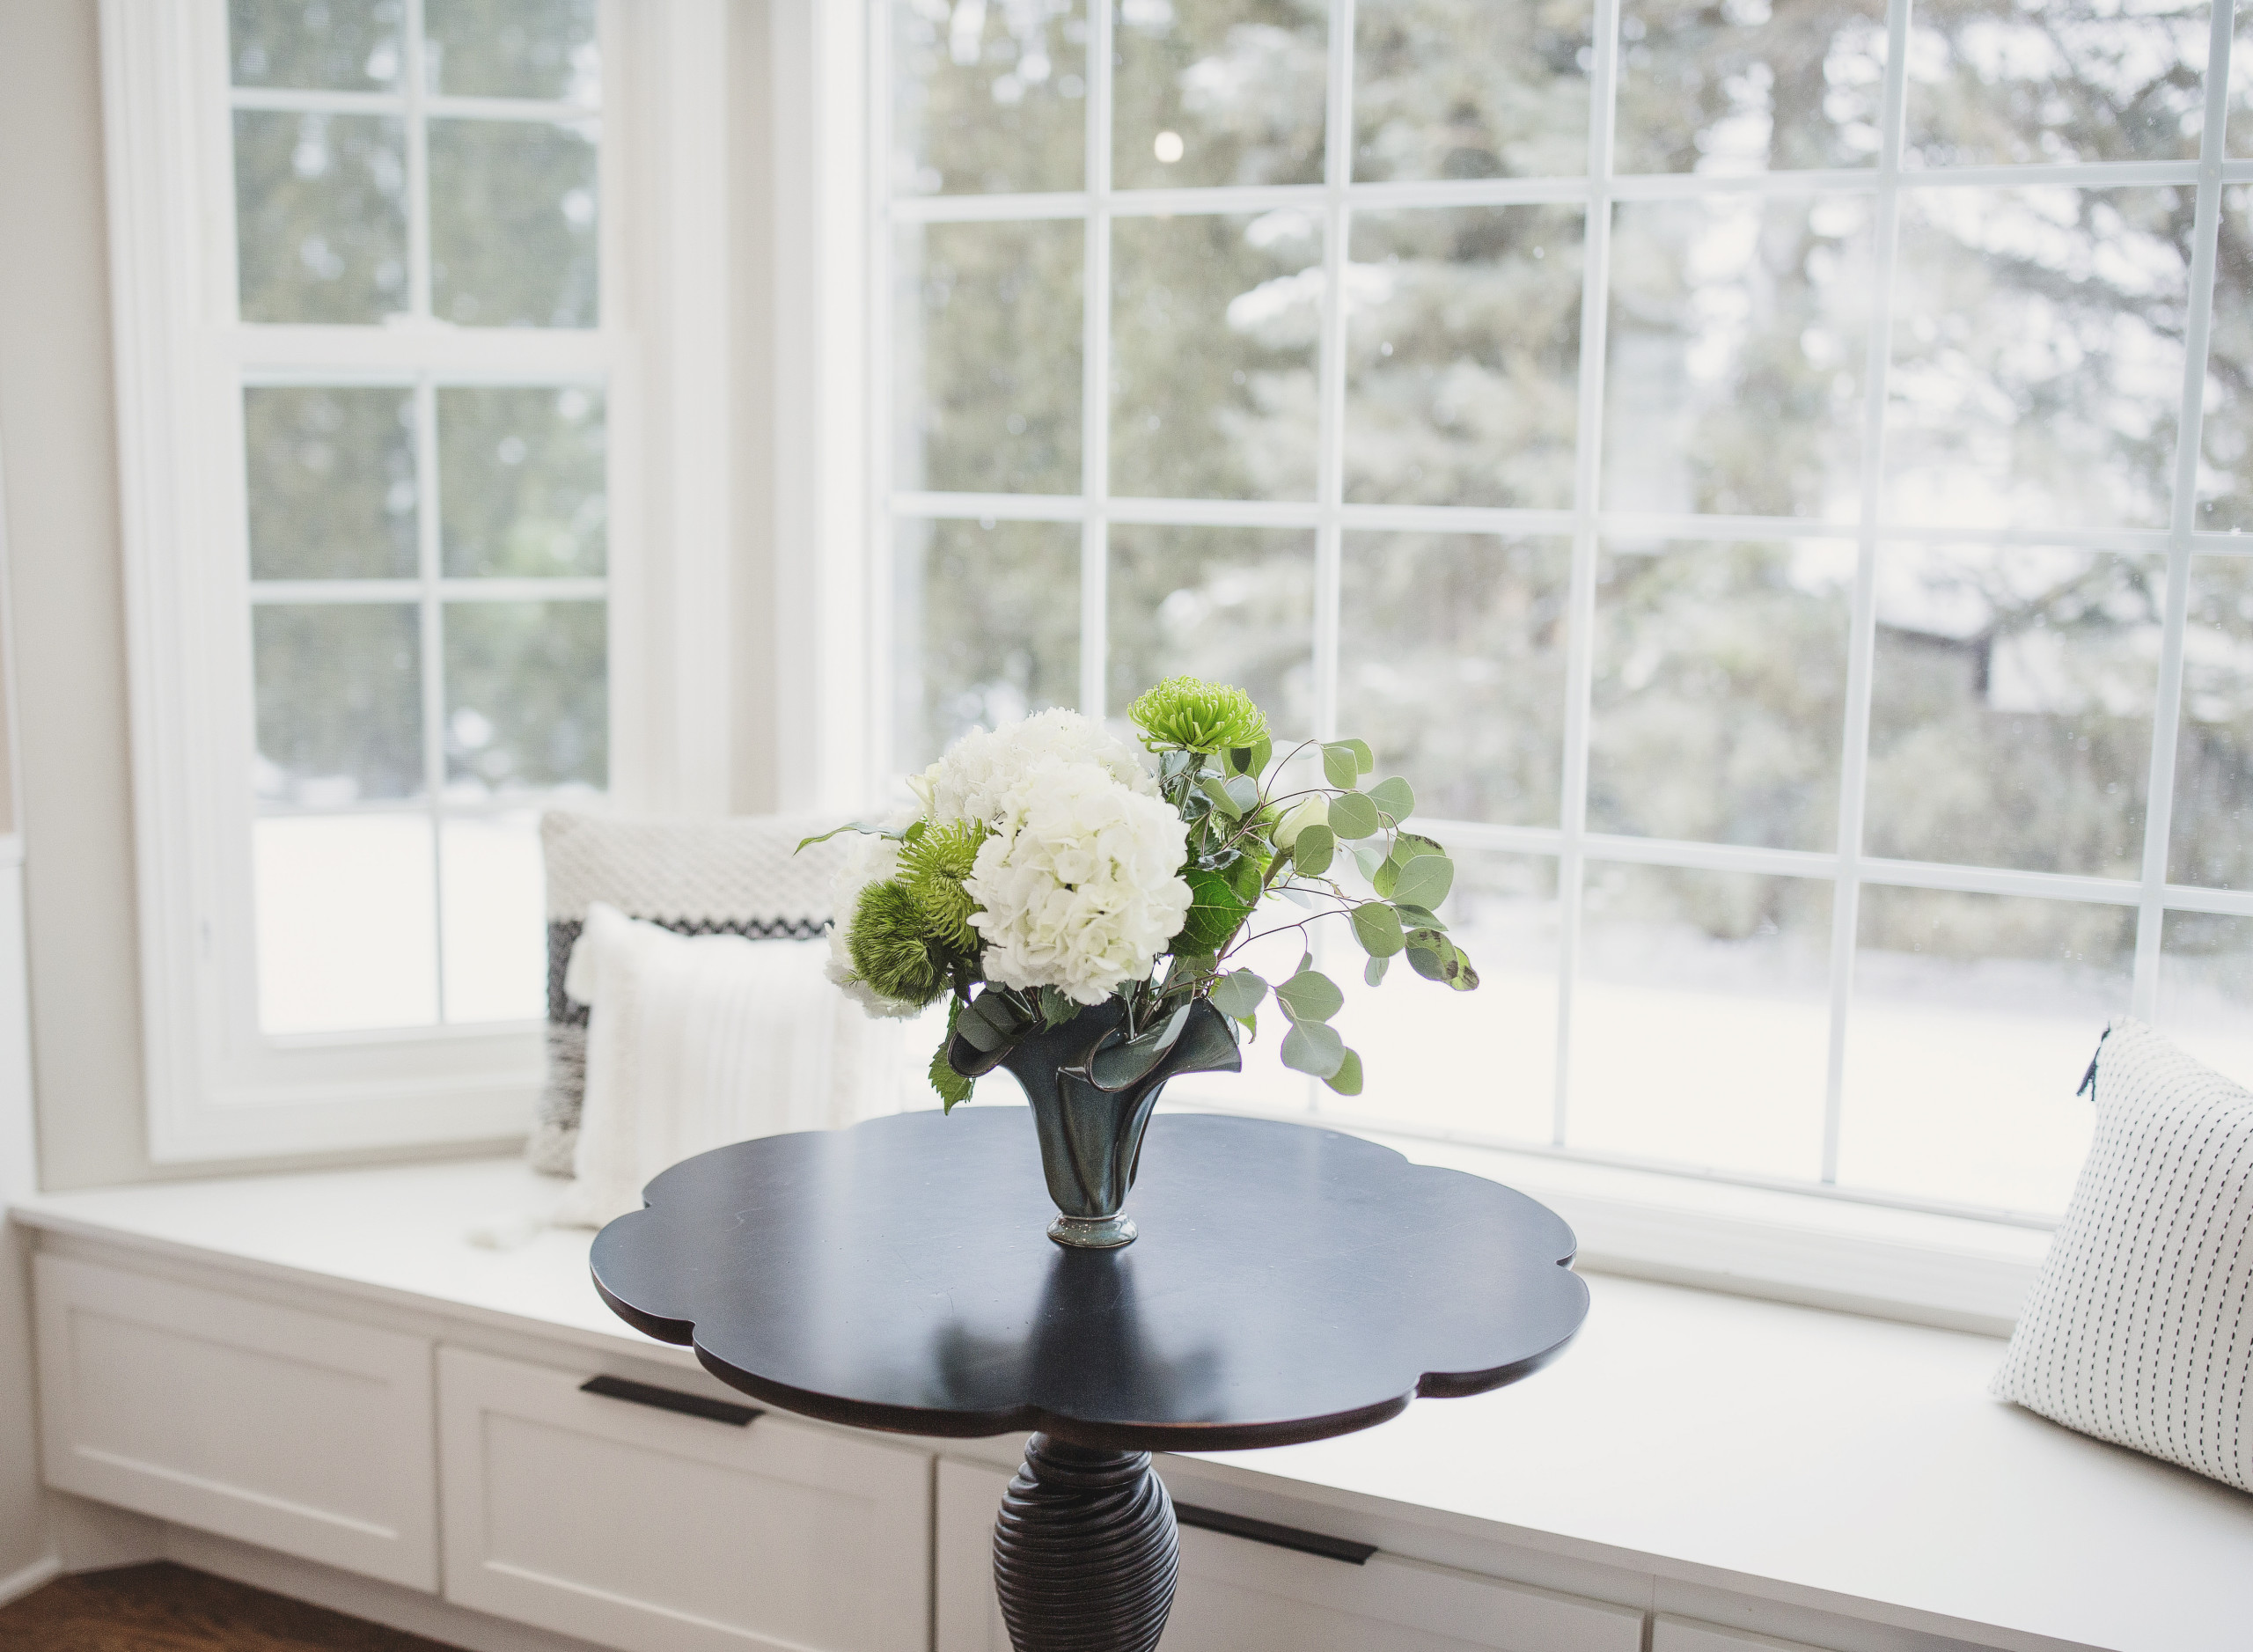
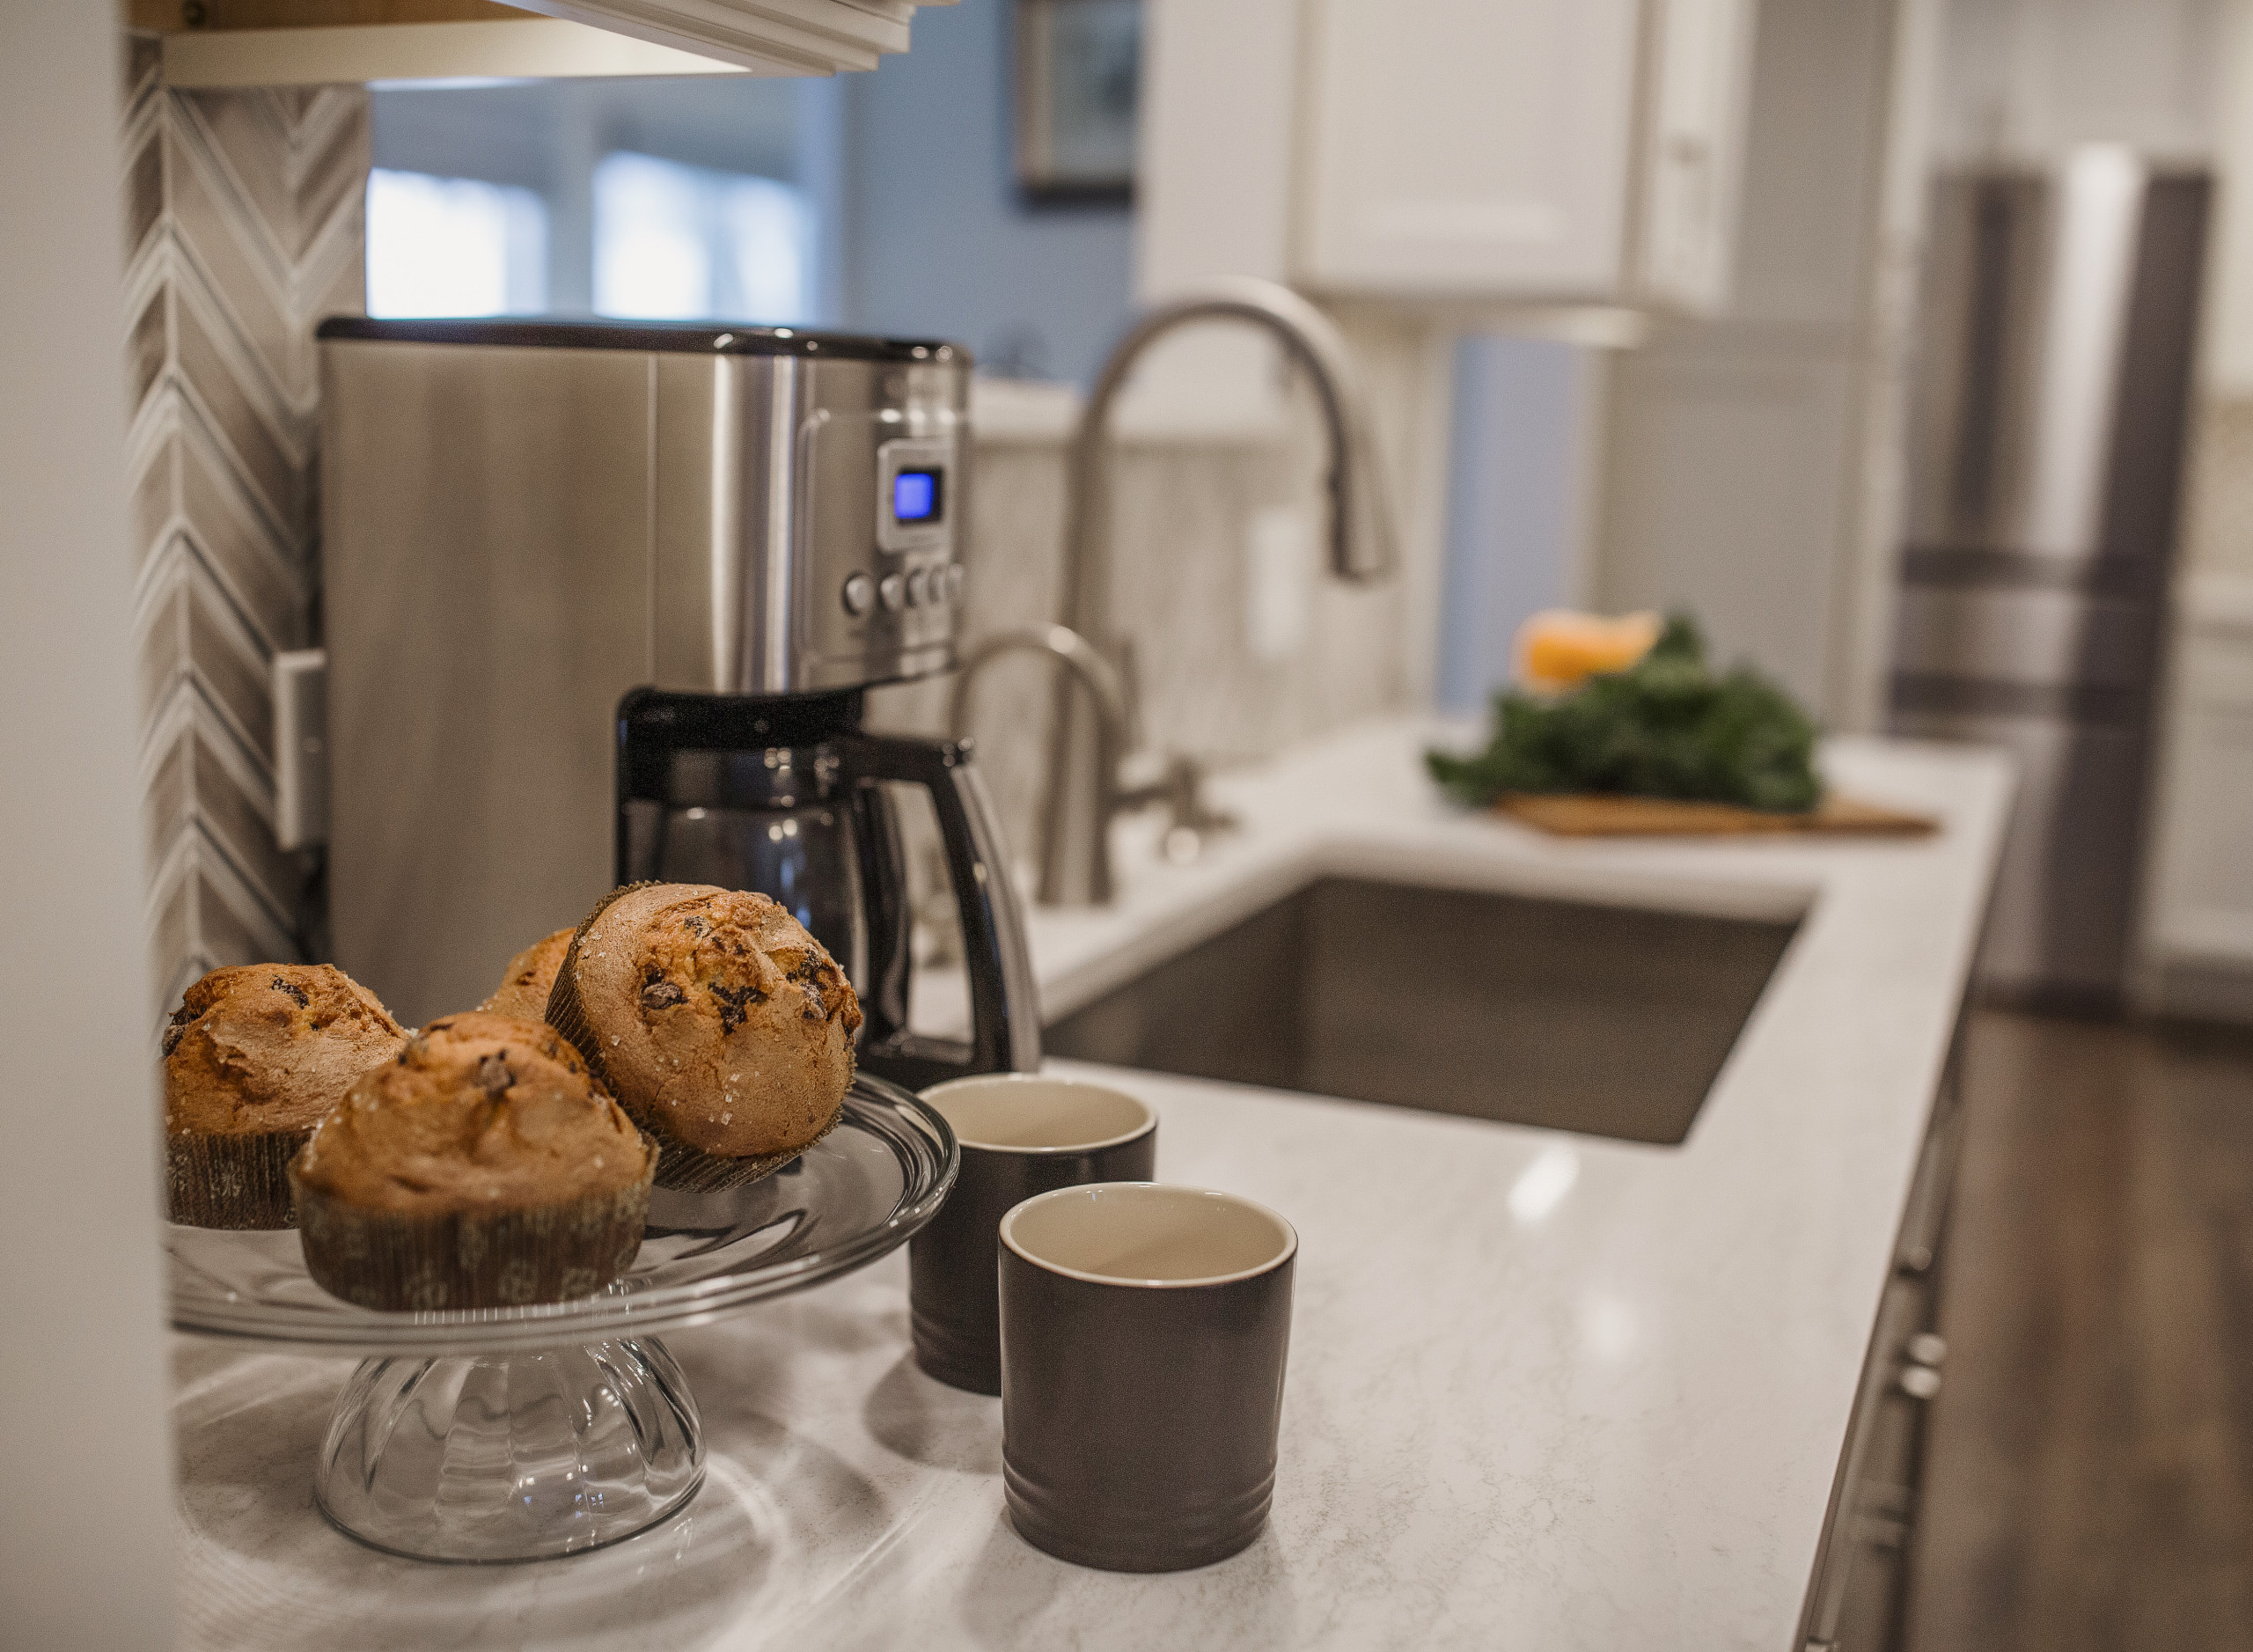
Accessorizing is what elevates your space to magazine-quality status, what gives you the final “WOW” moments. We add finishing touches that complete your style and make your space feel like your home. This phase follows a different process than the rest of the design: we will actually purchase the remaining items needed to take your space to the next level and prepare it for professional photography. On installation day, these items will be placed throughout your space, so you can actually see them IN your space as opposed to in photos. We will provide you with the cost of each item and you will have 24 hours to decide what you want to keep. You’ll pay for what’s staying and we’ll return anything you don’t want. Easy!
Step 9:
The Best Part
You pour yourself a cup of coffee, a glass of wine, or a cold lemonade and sit back and say,
“It looks even better than I dreamed it would!”
Testimonials
“Mollee was a pleasure to work with. She listened well and understood the look we were after, along with the functional requirements of the space. The end result was a tastefully designed office that continues to receive compliments from guests and staff alike.”
“Mollee has an attitude that embraces all challenges and encourages collaboration for the project. The term “team player” is overused, but Mollee truly is. Mollee always found a way to please owners, management, and residents while maintaining the vision of the project and…”
“We have used Mollee’s services several times over the past few years and each time she has more than exceeded our expectations. No matter the job, large or small, she brings her style, design expertise and attention to detail to every project. She will work with you until your vision becomes…”

